Okay, today I was sitting watching Sesame Street with my littles and thinking about how I hope you guys are practicing and learning and getting better. And kicking myself for things I should have talked about more, but didn't. So I thought I’d sit and send you a little extra blog post to read though. I talked a bit in class about “filing the frame”, but I really want to reemphasize what a big deal it is in making your photos more captivating. So I have a little example.
*disclaimer: I just grabbed my camera and my kid and went to the back yard. I didn’t even brush the poor kid’s hair. So I apologize for my unkempt little crew. I also wasn’t quite as detail oriented on getting the “portrait faces” or sharpness I strive for in my official gigs, and I didn’t really edit for artistry, but for the purposes of this blog post, I’m pretty happy. :)
Here is a cute snapshot you might see. An adorable 2 year old sitting in his back yard branch fort.
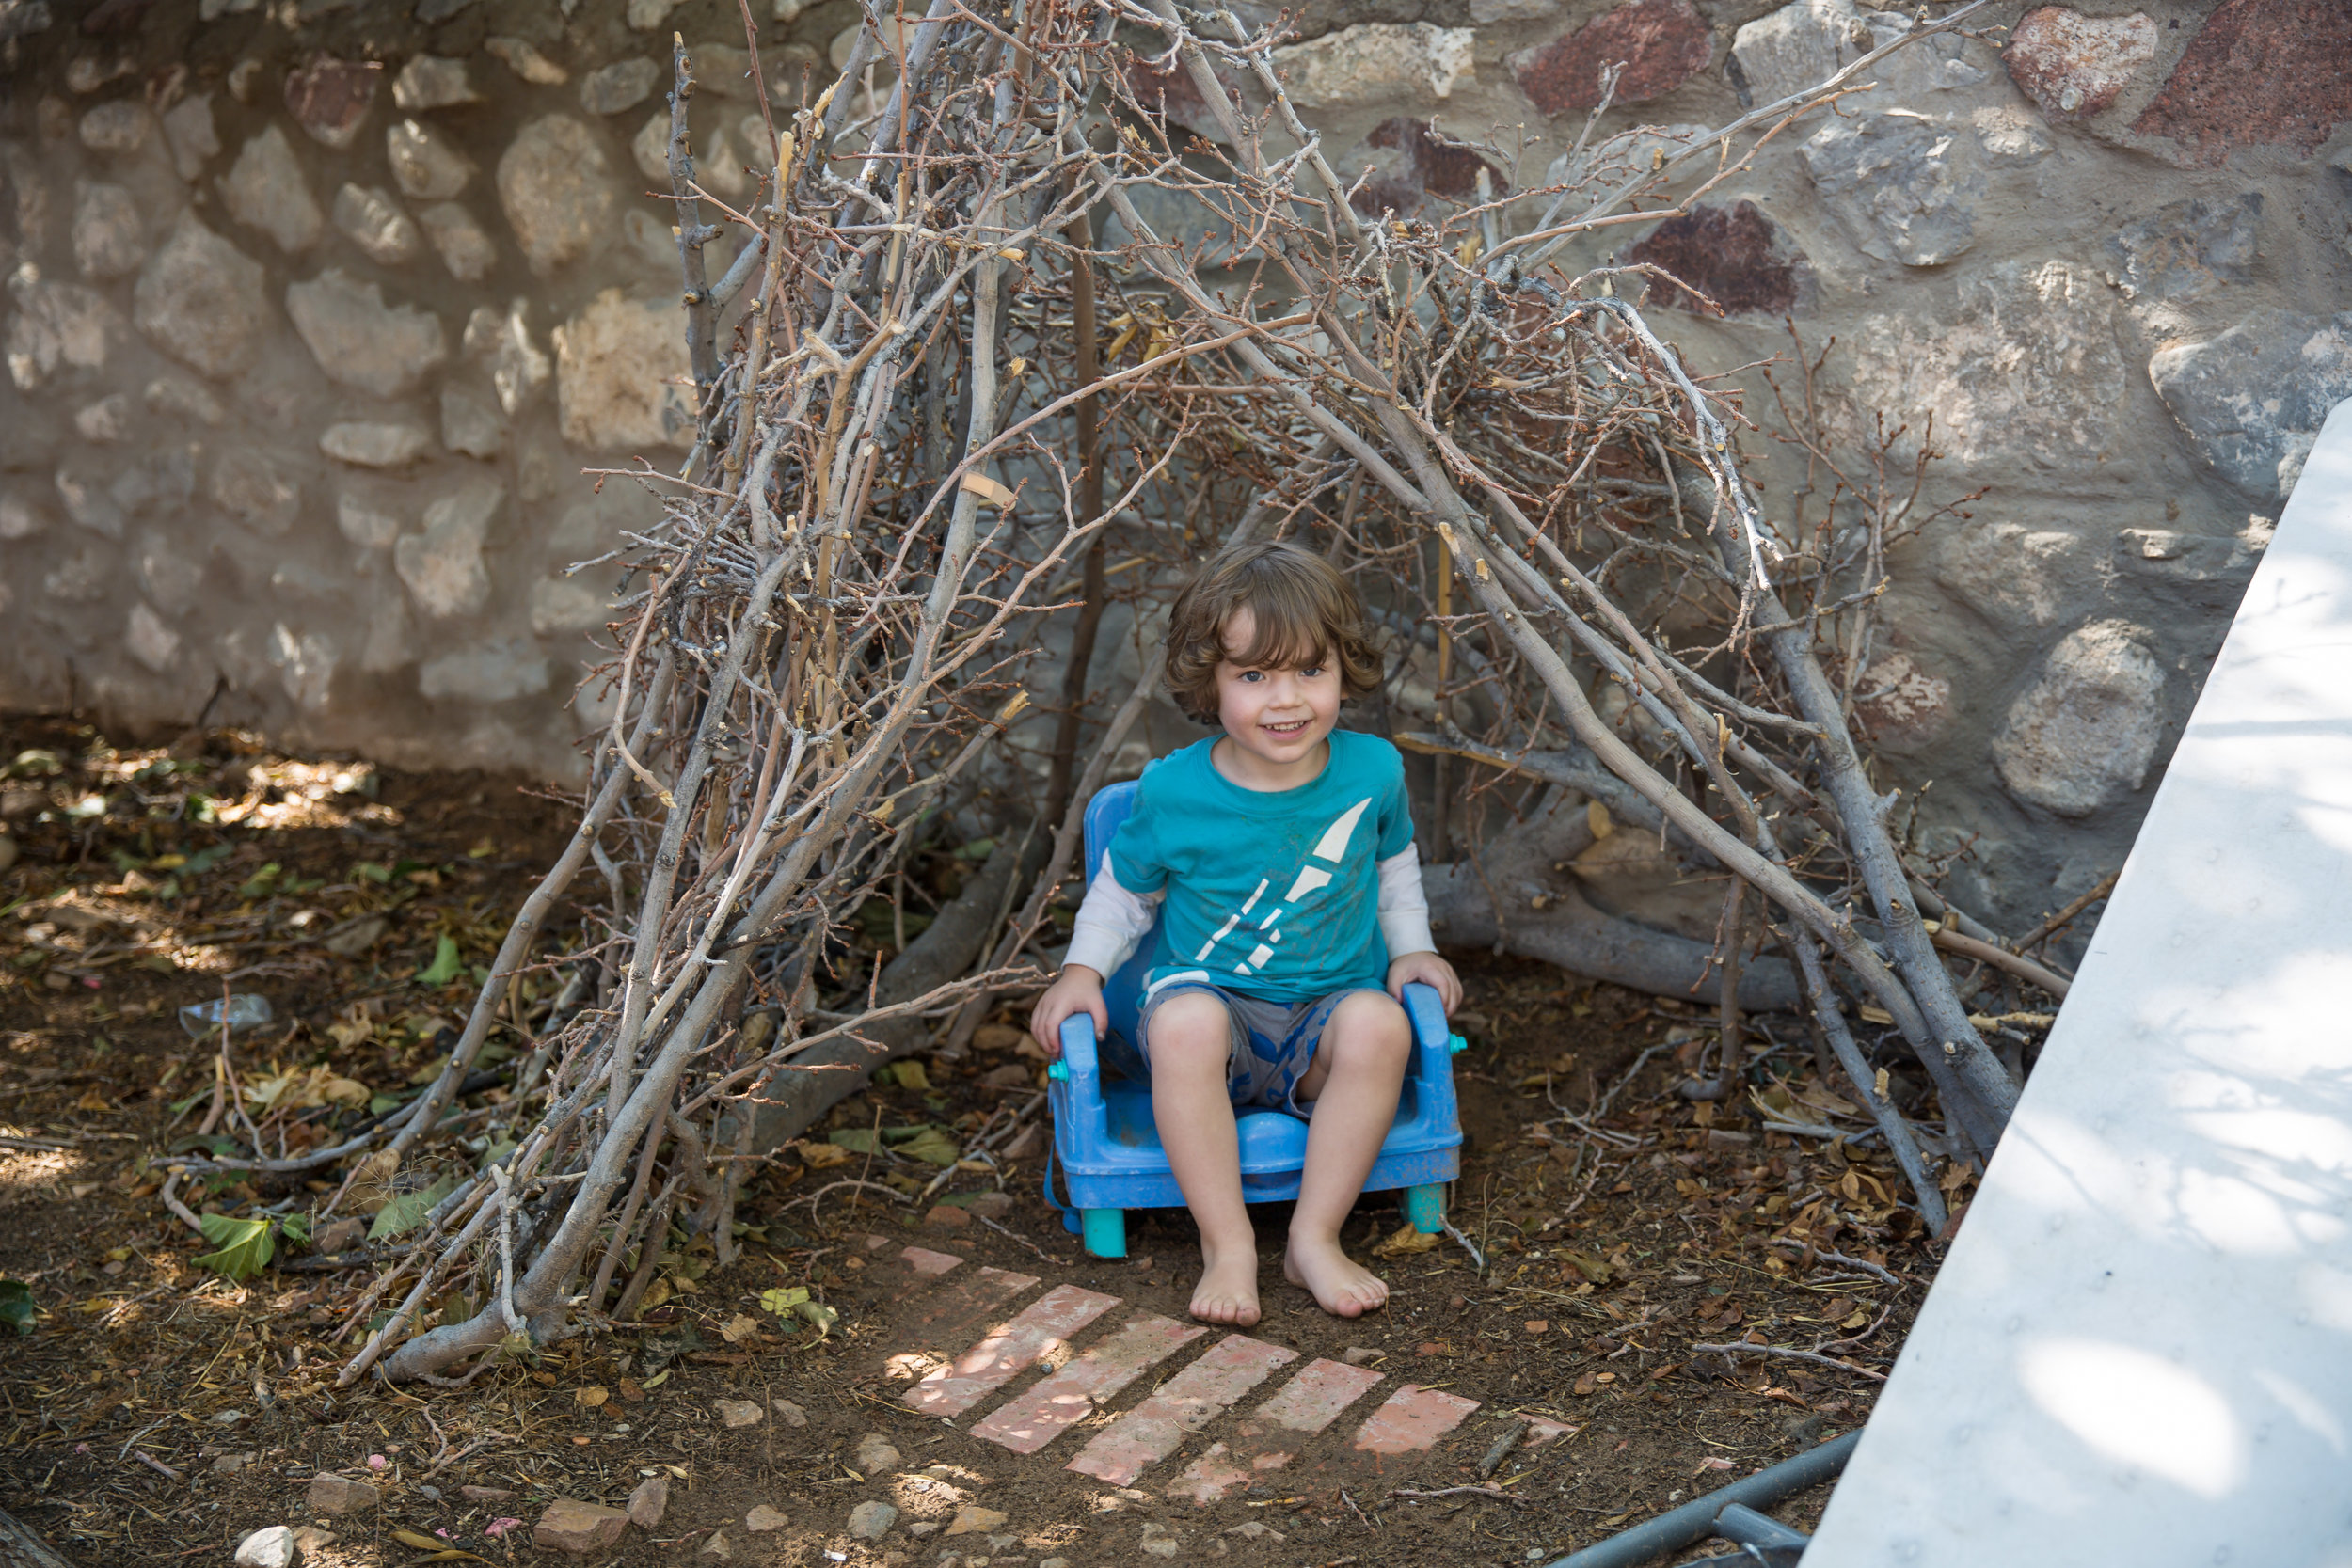
Cute, right? I’d share this on Facebook without hesitation. But it sort of looks like a cell phone snap. You wouldn’t know that I took this with a very expensive camera and a very expensive lens. This is what happens if I get a little closer….
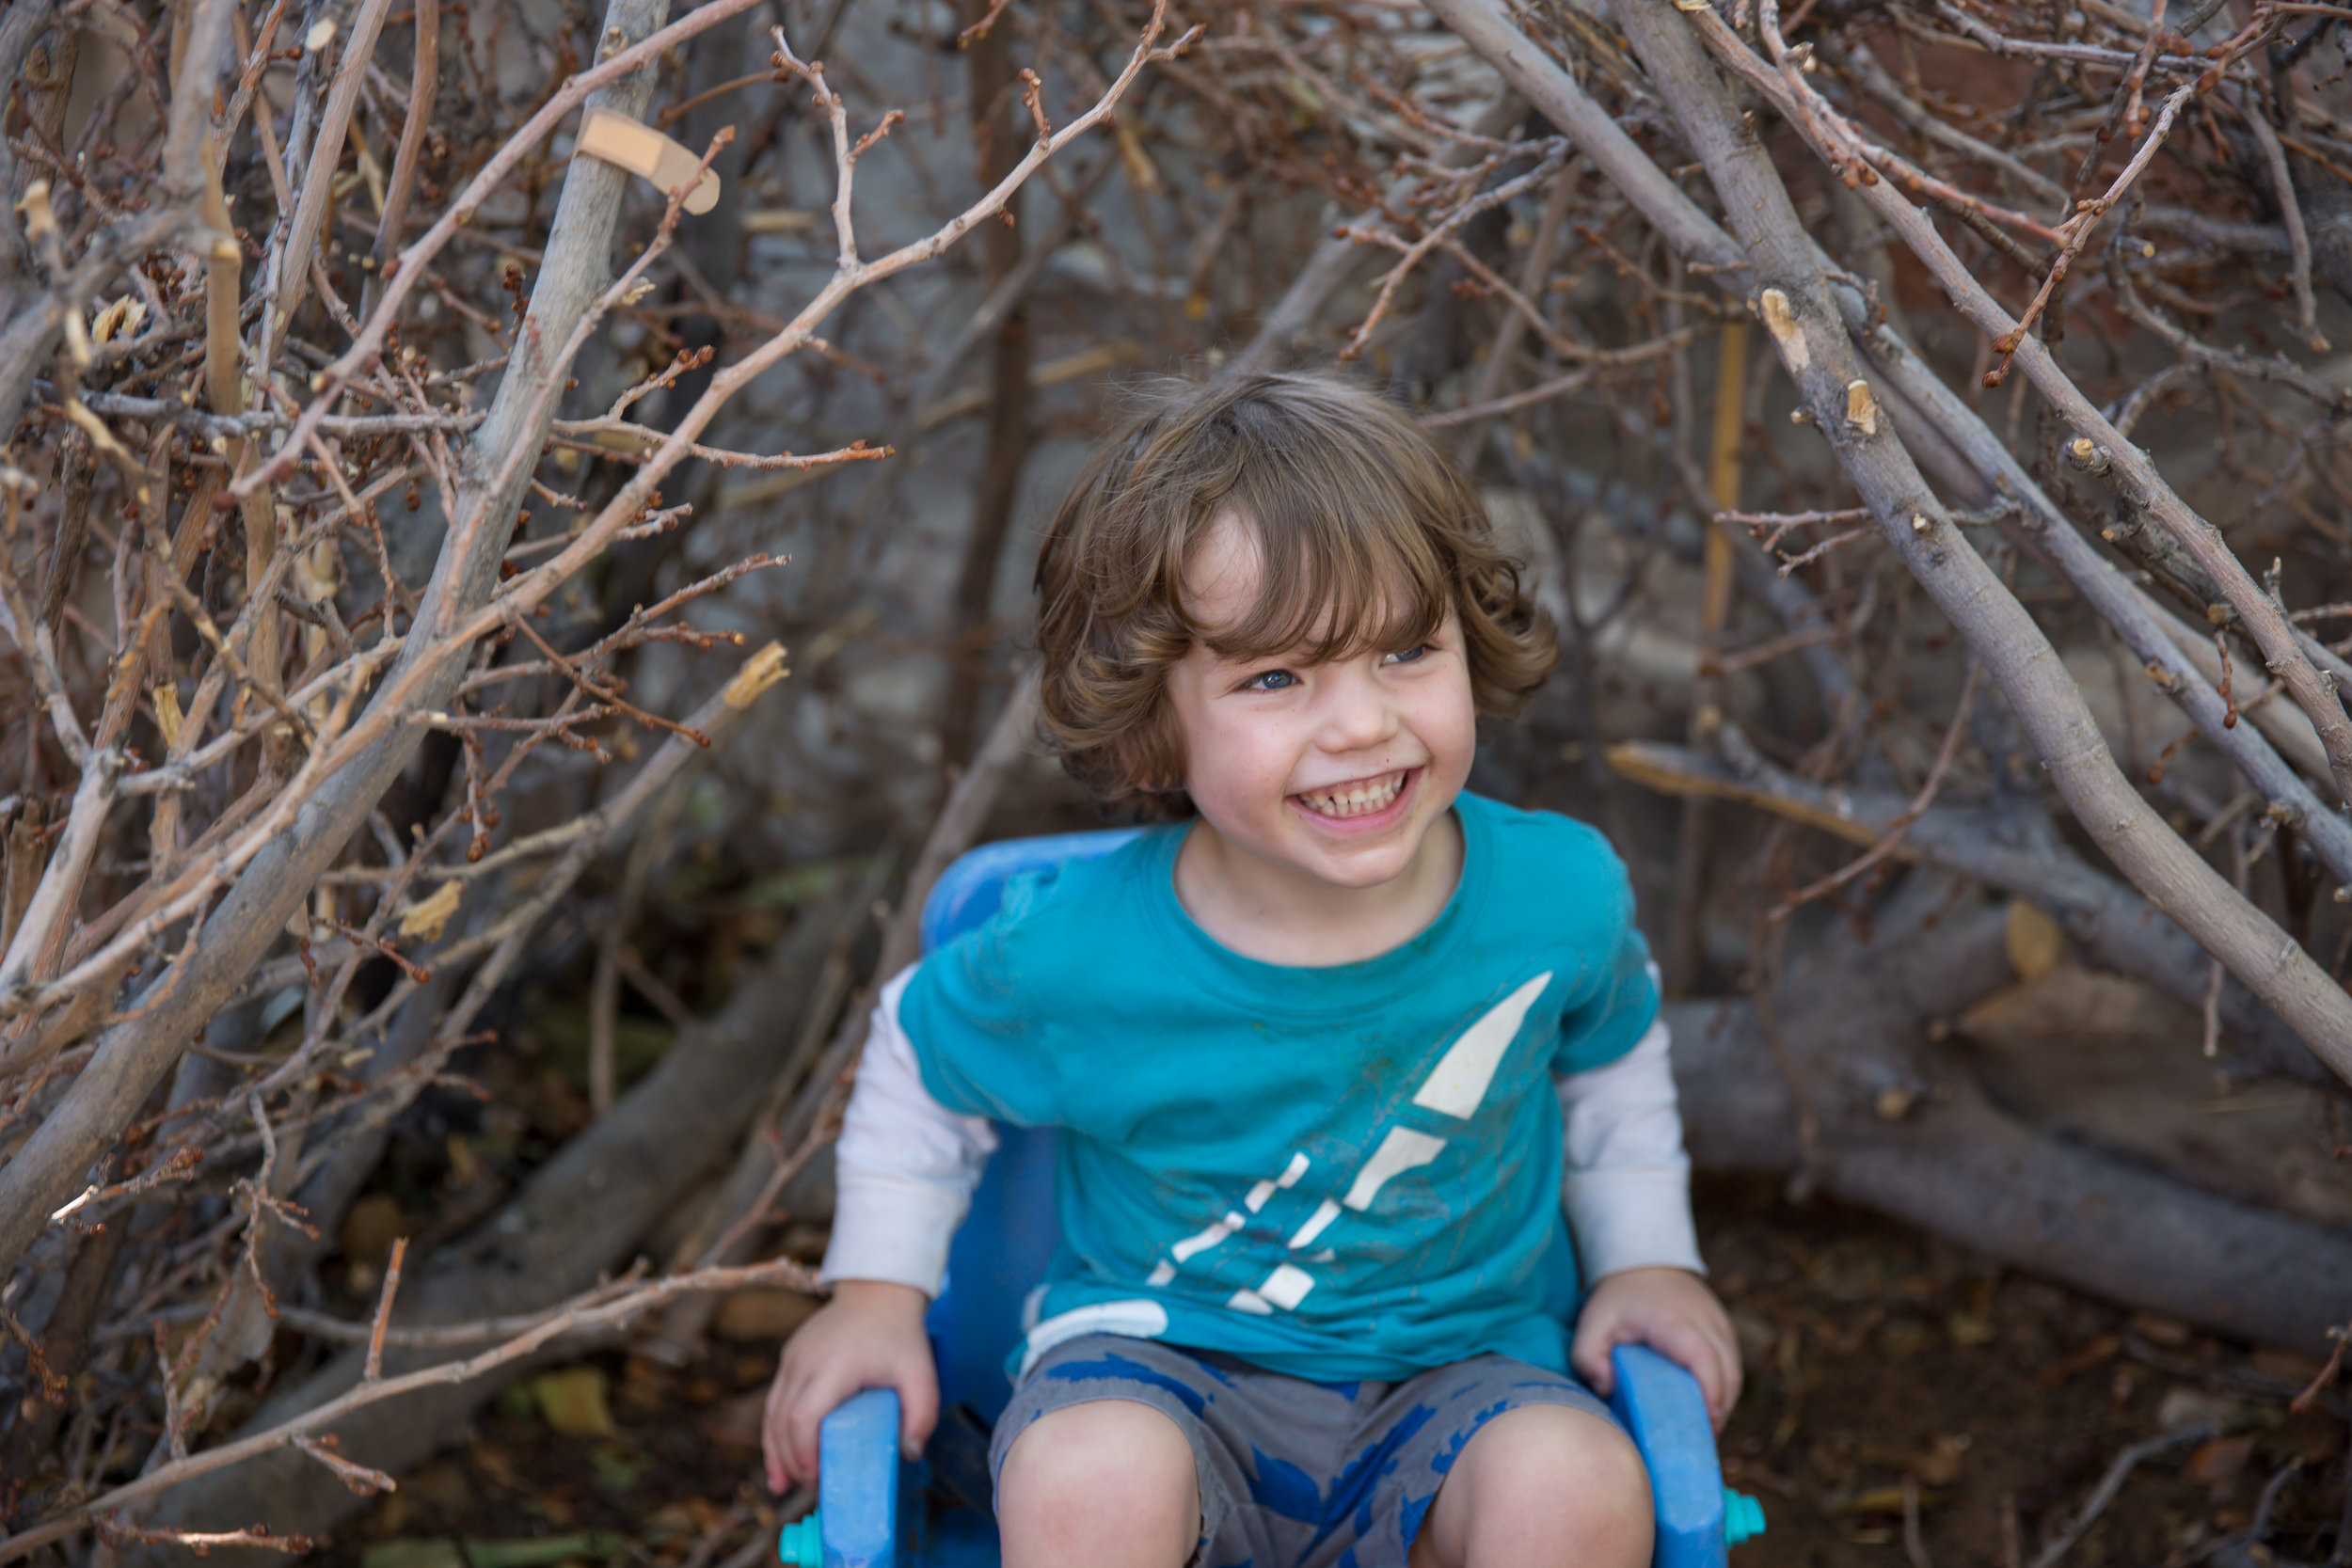
That’s a pretty different feel, right? The camera settings were basically the same. Av mode, F2.8. All I changed was that I got closer (which also has the benefit of increasing the effect of the bokeh) and I zoomed it in to up the focal length just a tiny bit. (from 45mm to 59mm to be exact). But it feels closer, much more intimate to me. That might get put in a frame on my desk or something. (at least after I edited out the random band-aid stuck to the branch).
Next I steeped even a little closer and the results were amplified…


So there ya go. Food for thought. If your pictures are looking a little blah, try taking a step forward. You’ll be surprised at what a difference it makes.
And now a challenge
When you’re figuring it all out, when you’re finding your style, I highly encourage you to take advantage of the joys of Pinterest. So here’s my challenge to you. Do a quick Pinterest search of the broad genre you want to get good at. Street photography, children’s photography, pet photography, whatever. Pick the images you love, that you want to make images like, and save them. Find your “mood board”. Then pick one or two, and try to emulate it. Pick ones the don’t look like they need a fancy location or fancy equipment. I promise you, for every genre, there is a picture you can pull off. You already have the tools.
Now study the picture. What makes it special? What angle was the camera at? How was the subject positioned relative to the photographer? Was it a wide aperture or a narrow one? Fast shutter speed or slow? How far away was the subject from the camera? Does it look zoomed in from further away or like it’s a wide “fish eye” angle? (look at how much sky and background is in the image).
Once you’ve studied it, try and recreate it at home with your own flowers or family or dog. Once you’ve learned to “see” the elements of a picture and recreate it, you can start making your own unique creative setups. Good luck, and happy practice!
If you have any questions at all, don’t be afraid to send me a quick message. I might be able to help. I probably am no good at answering technical questions like “what is this error message”, but if you want feedback on a picture you took or you want to pick my brain on how to pull off a shot or effect, I’m happy to talk it though with you. This is truly my idea of a good time. :)
If you take something you’re proud of, send it to me! I’d love to see it!!!! Good luck. :)
Here’s a few sample searches to get you started:


